
01
Open the map and mark a paddock.
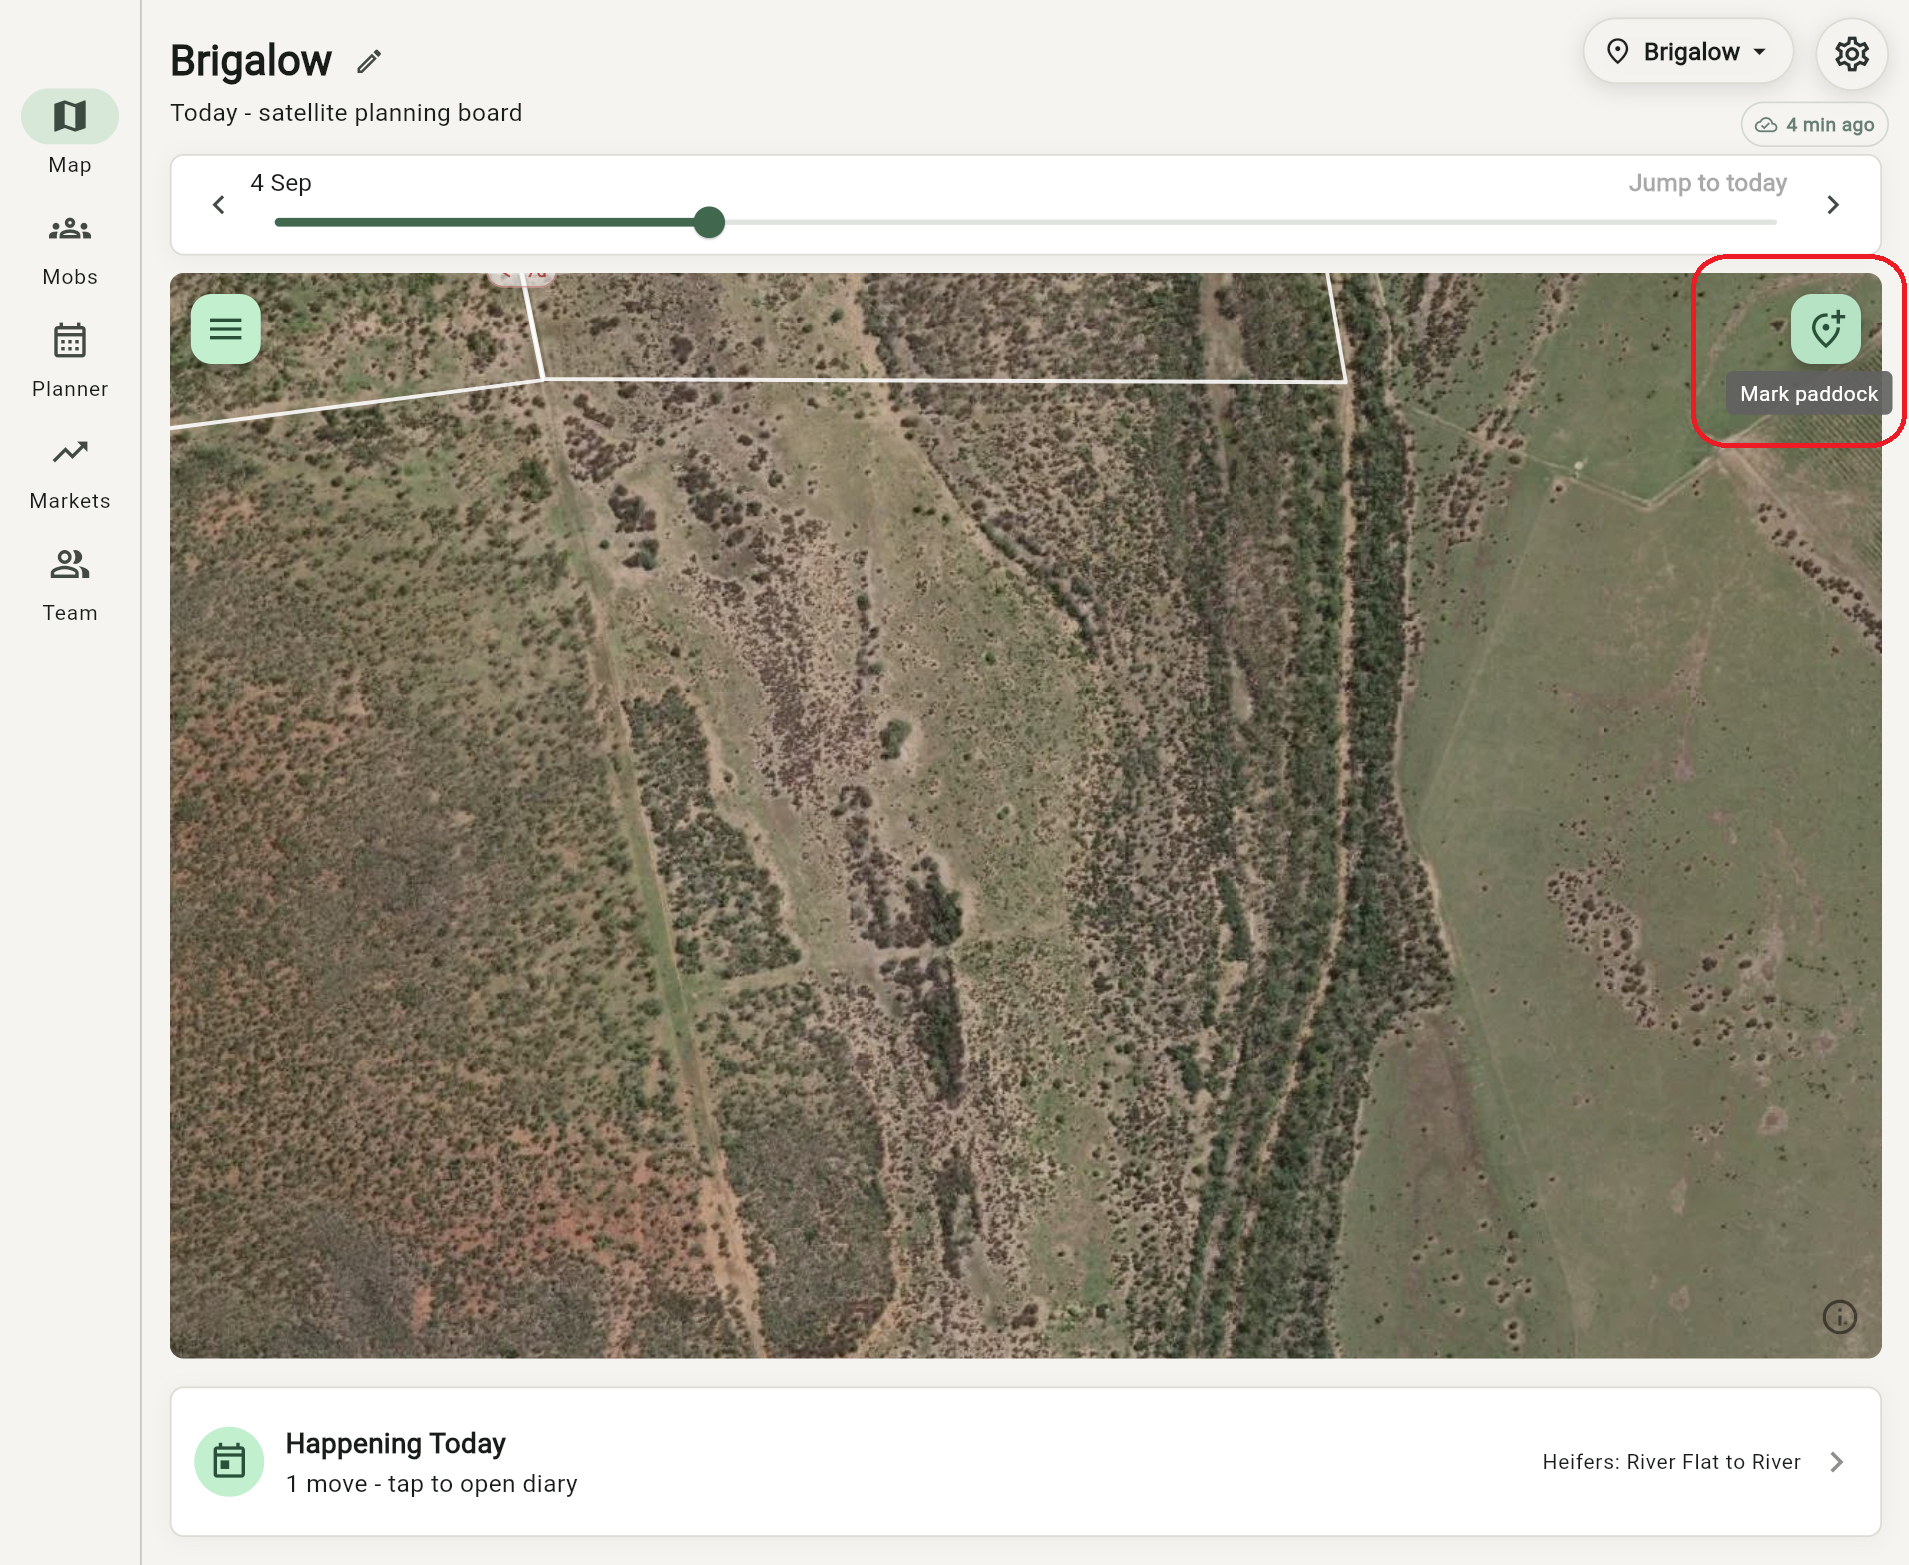
Go to the Map screen, move to the paddock you want to set up first, then tap Mark paddock.
First useful setup
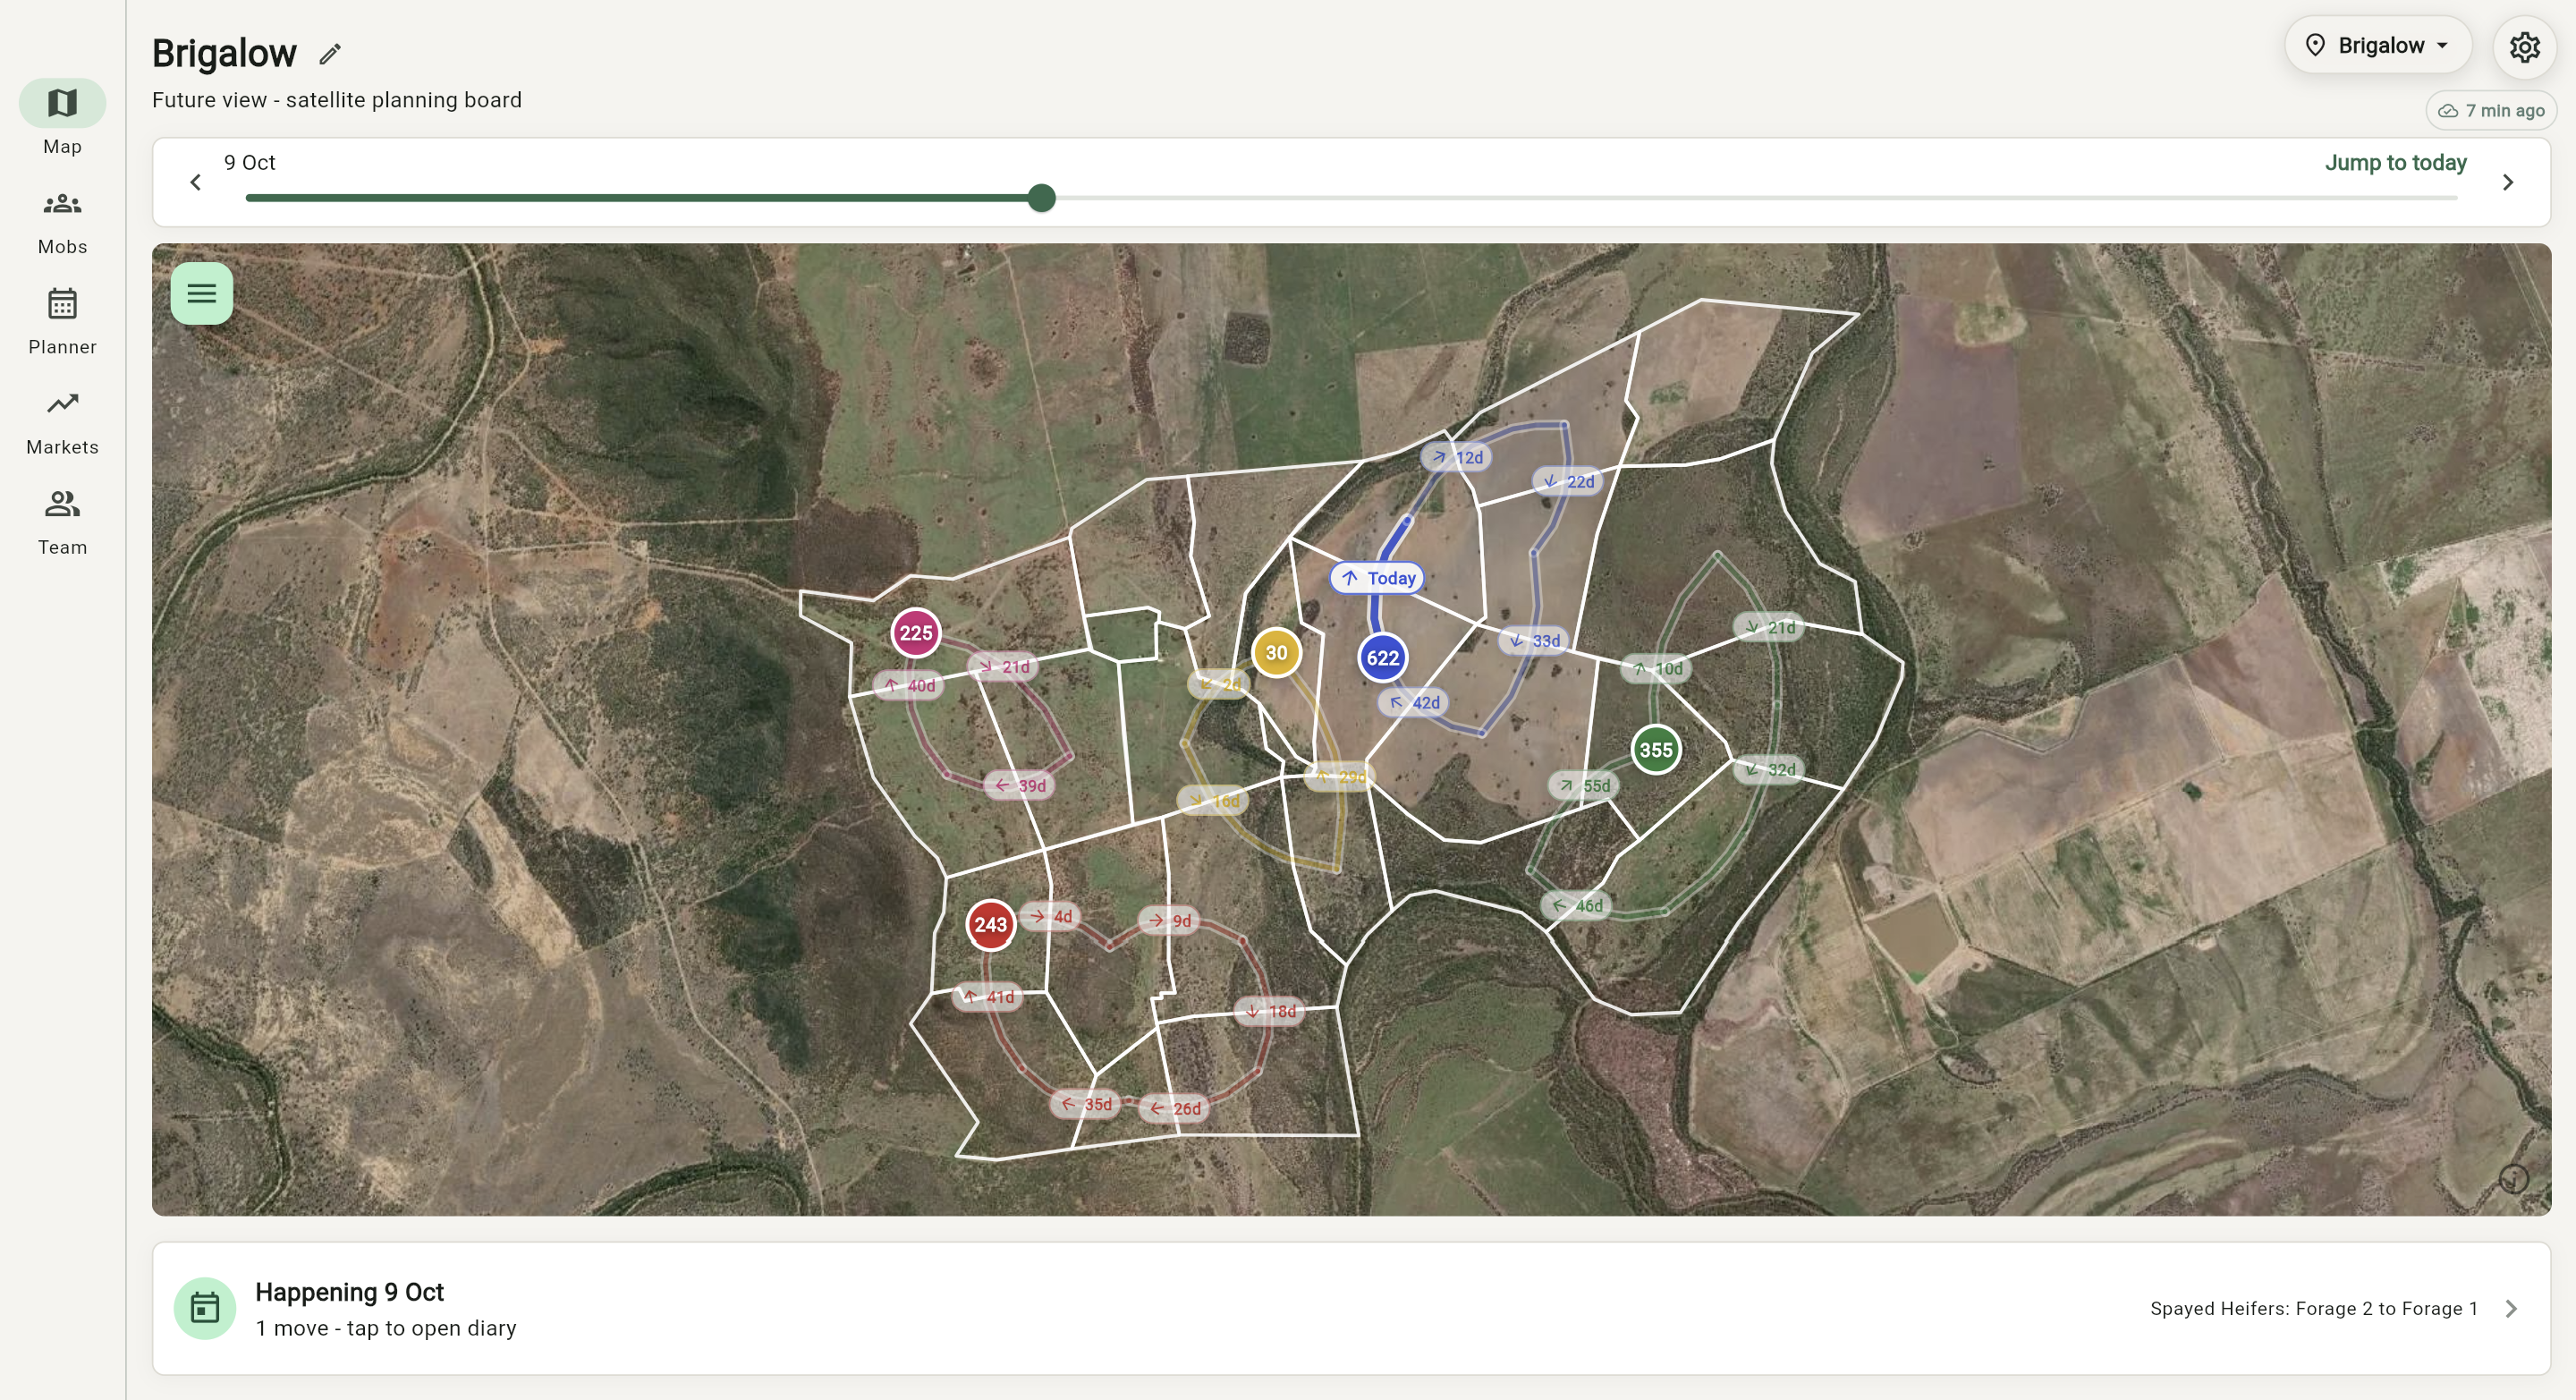
Grazer becomes useful once it knows where a mob is, where it might go next, and what weight gain you expect. This walkthrough shows the shortest path to that first useful moment.
Go to the Map screen, move to the paddock you want to set up first, then tap Mark paddock.
Add points around the paddock. The exact boundary can be adjusted later, so start with something close enough to use.
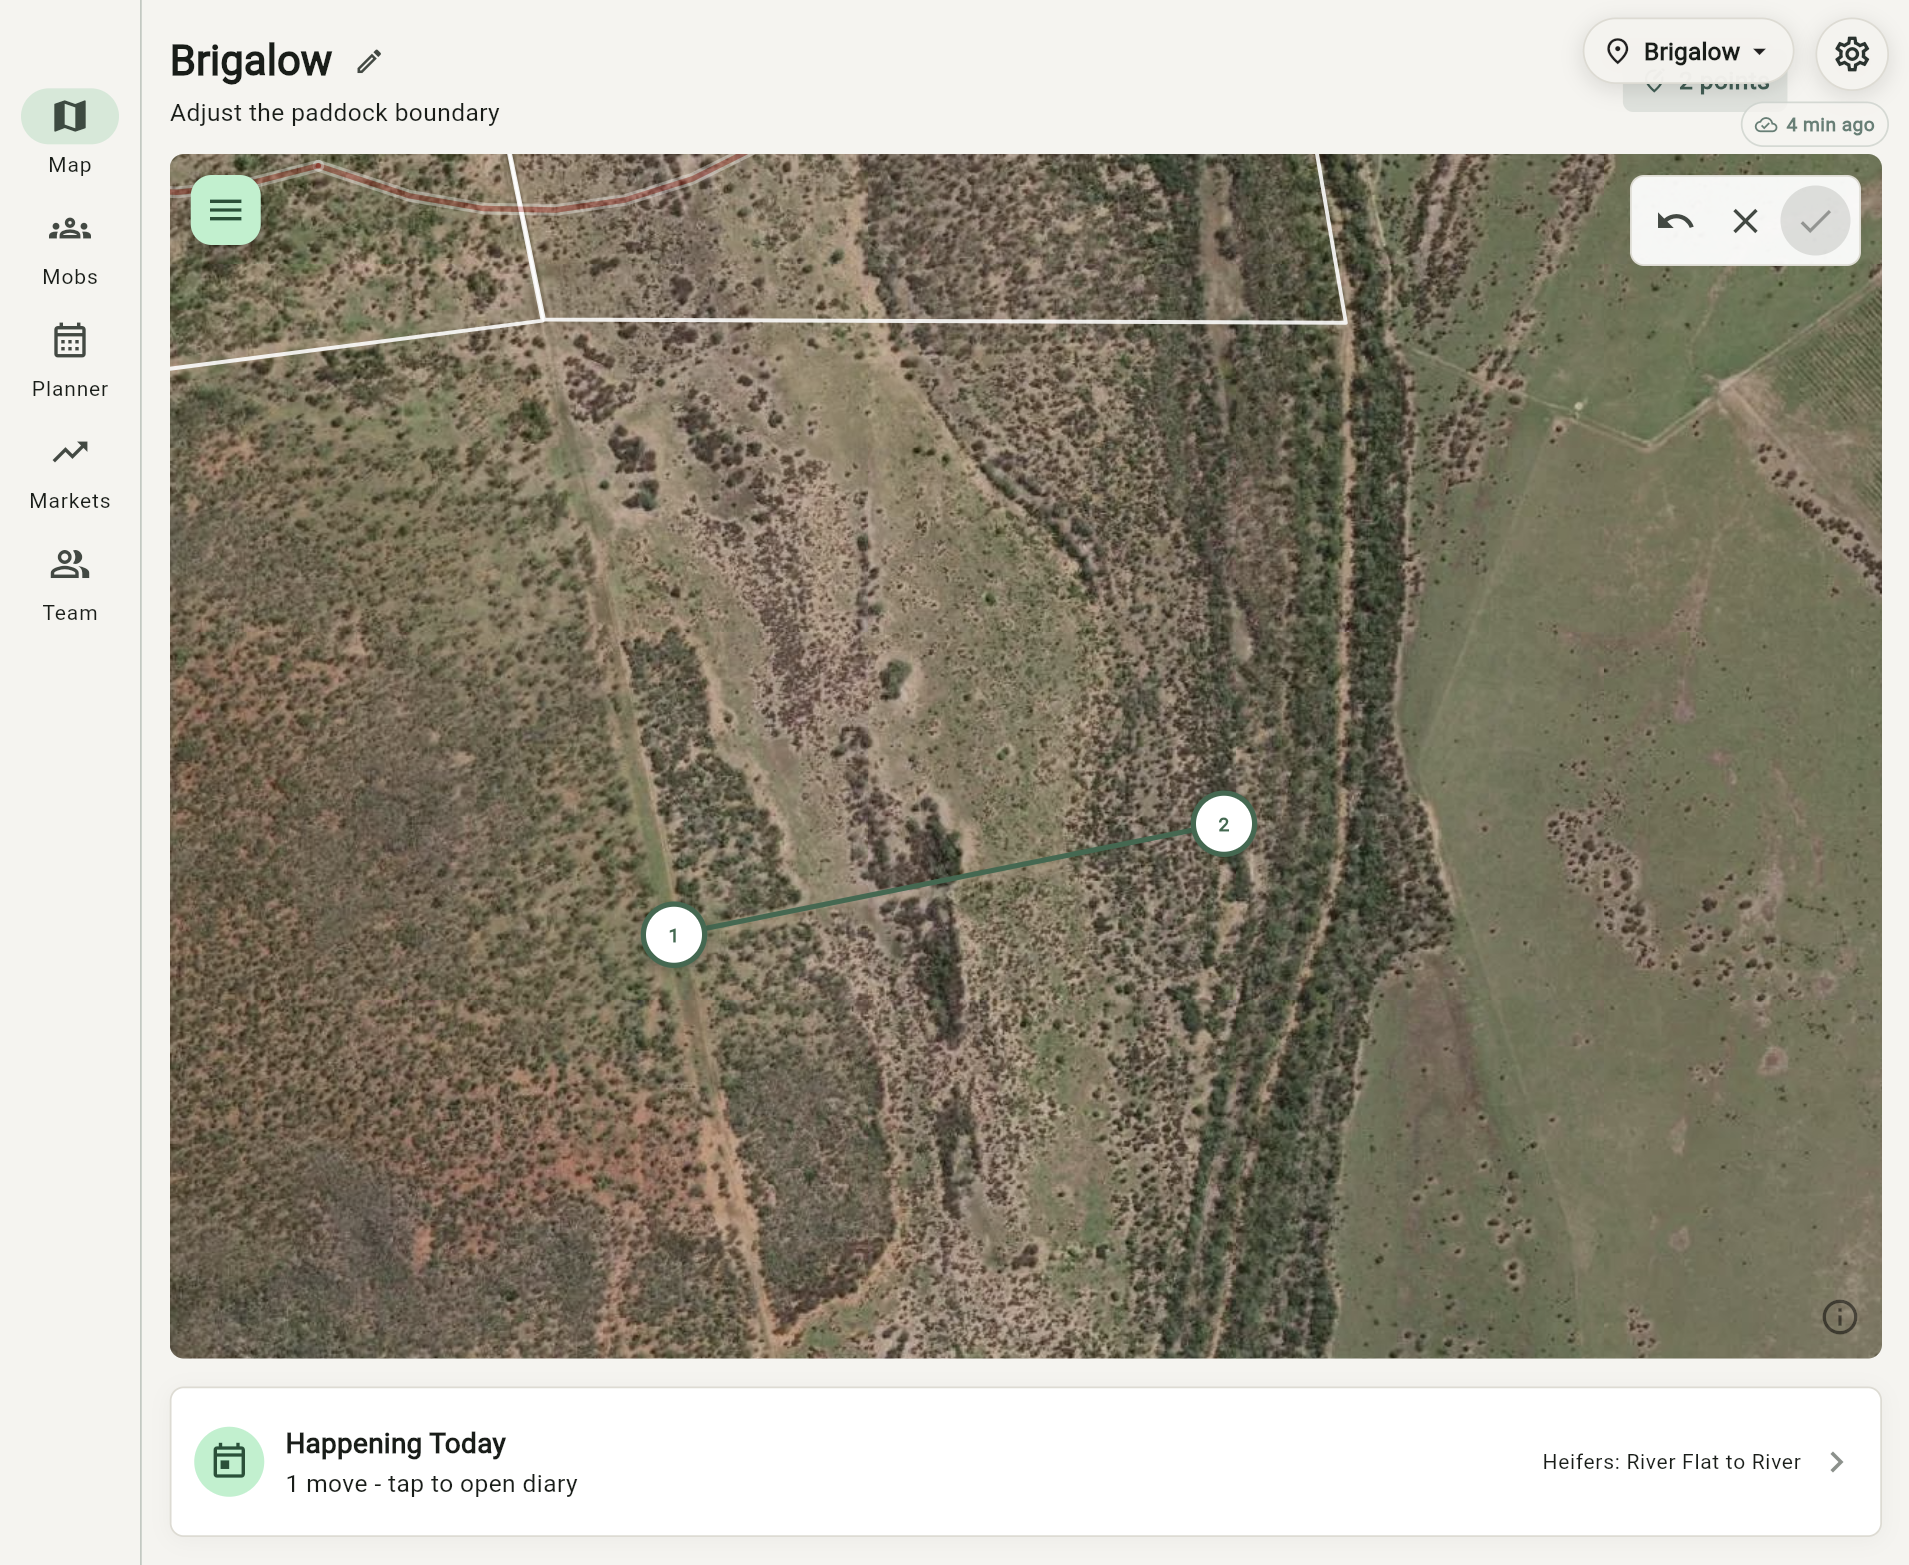
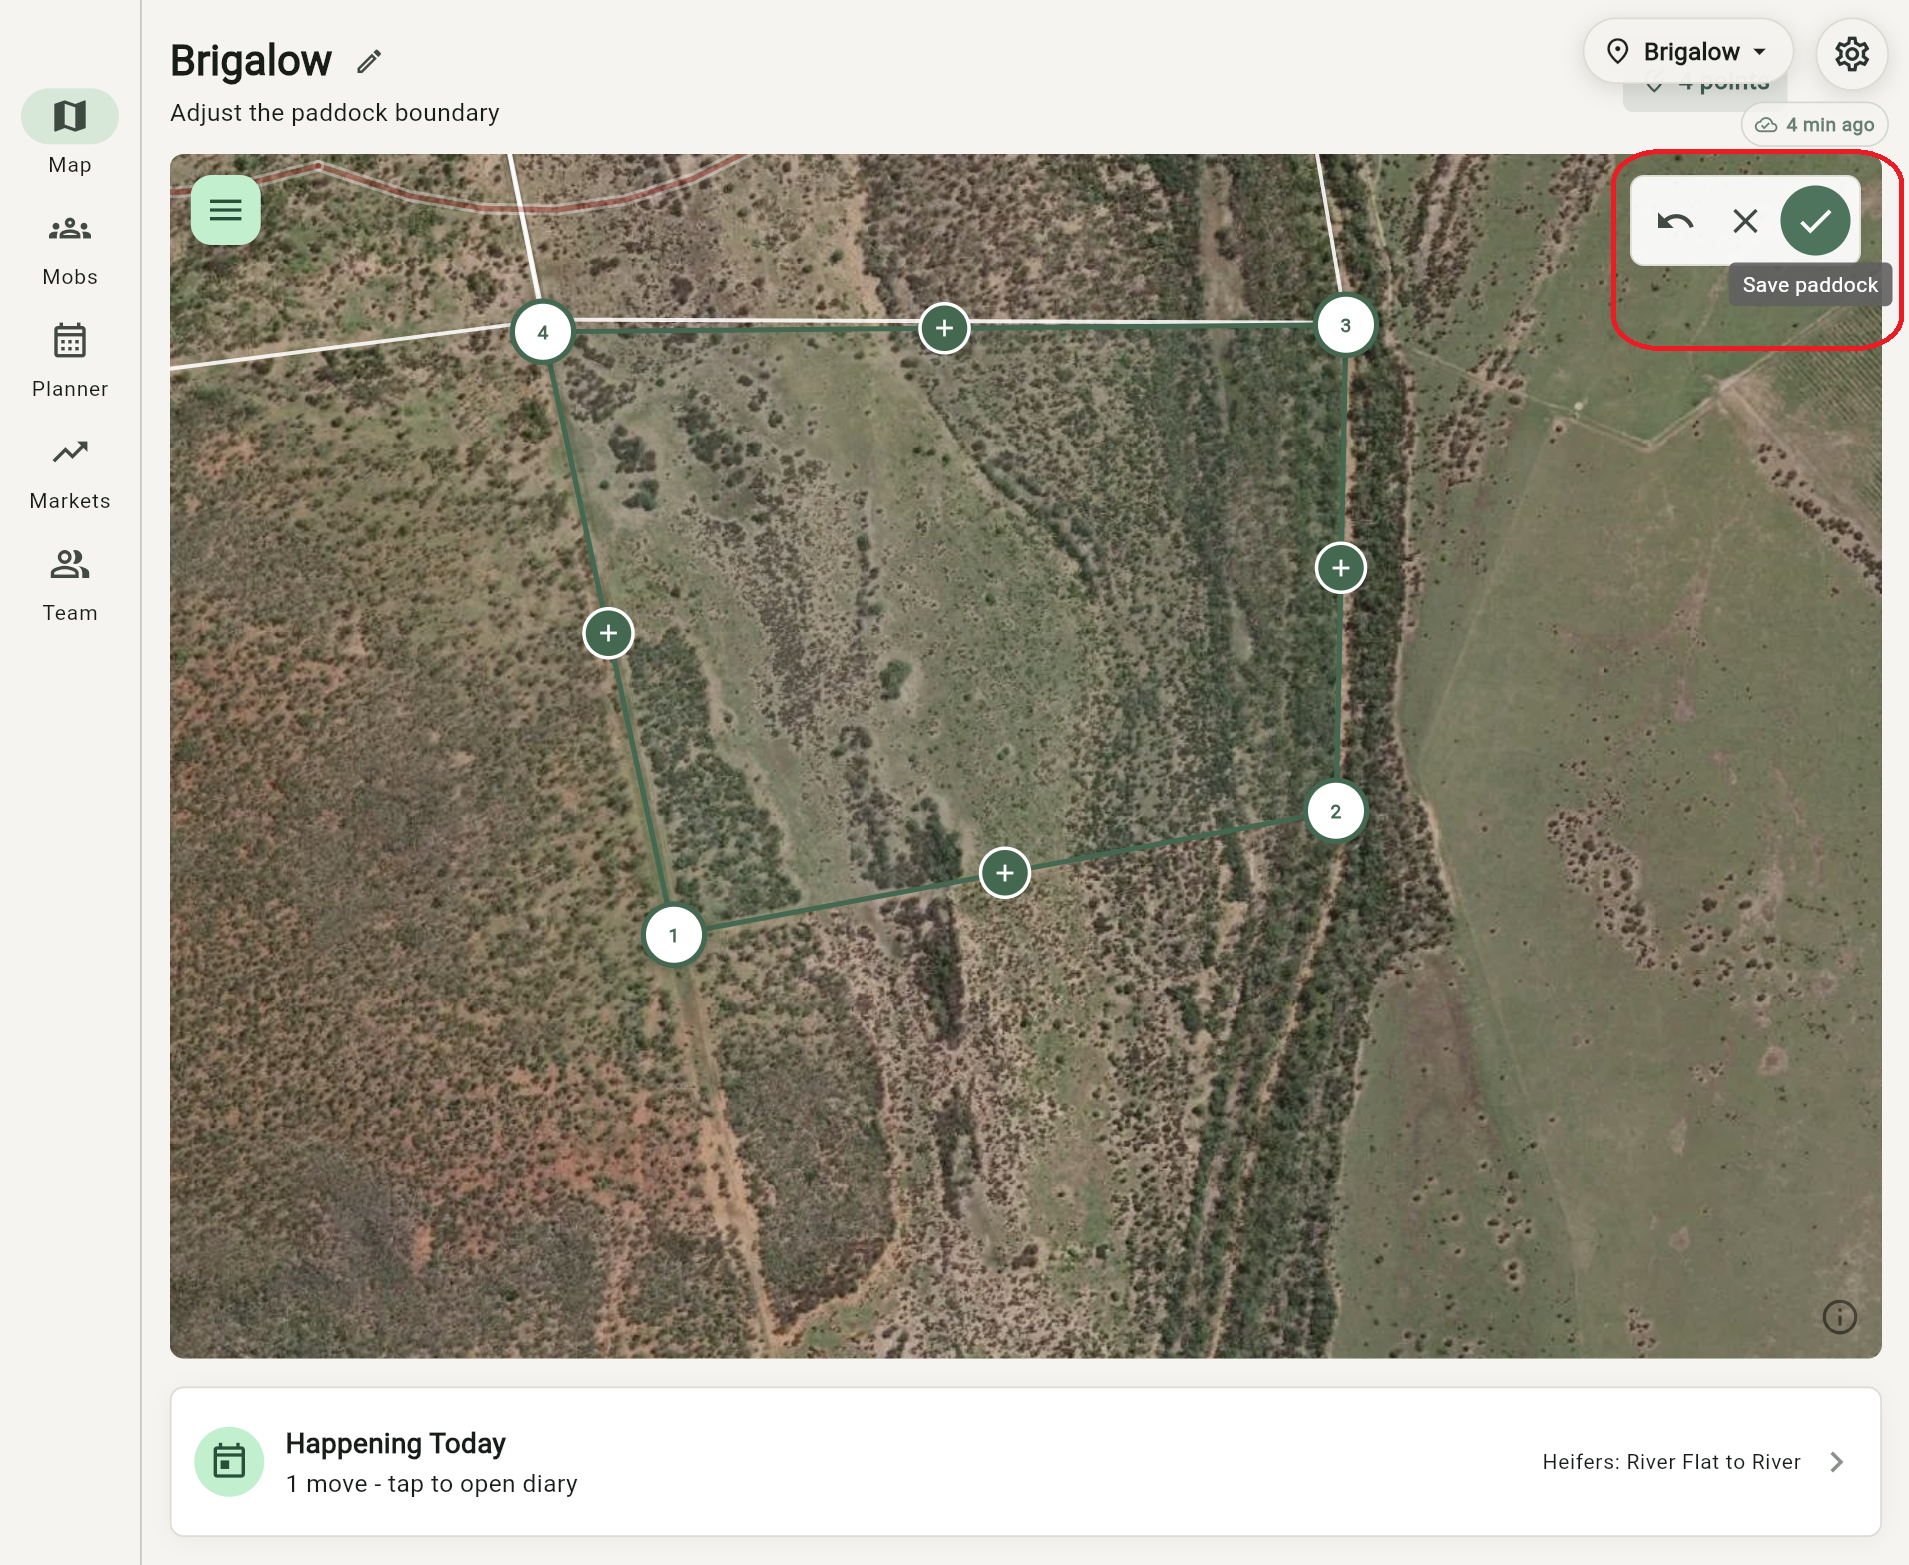
Use the tick to save, then give the paddock a name and an estimated daily weight gain. That gain can feed the mob forecast later.
Tap the paddock's name, then choose Add mob. This is the quickest way to tell Grazer where those cattle are starting.
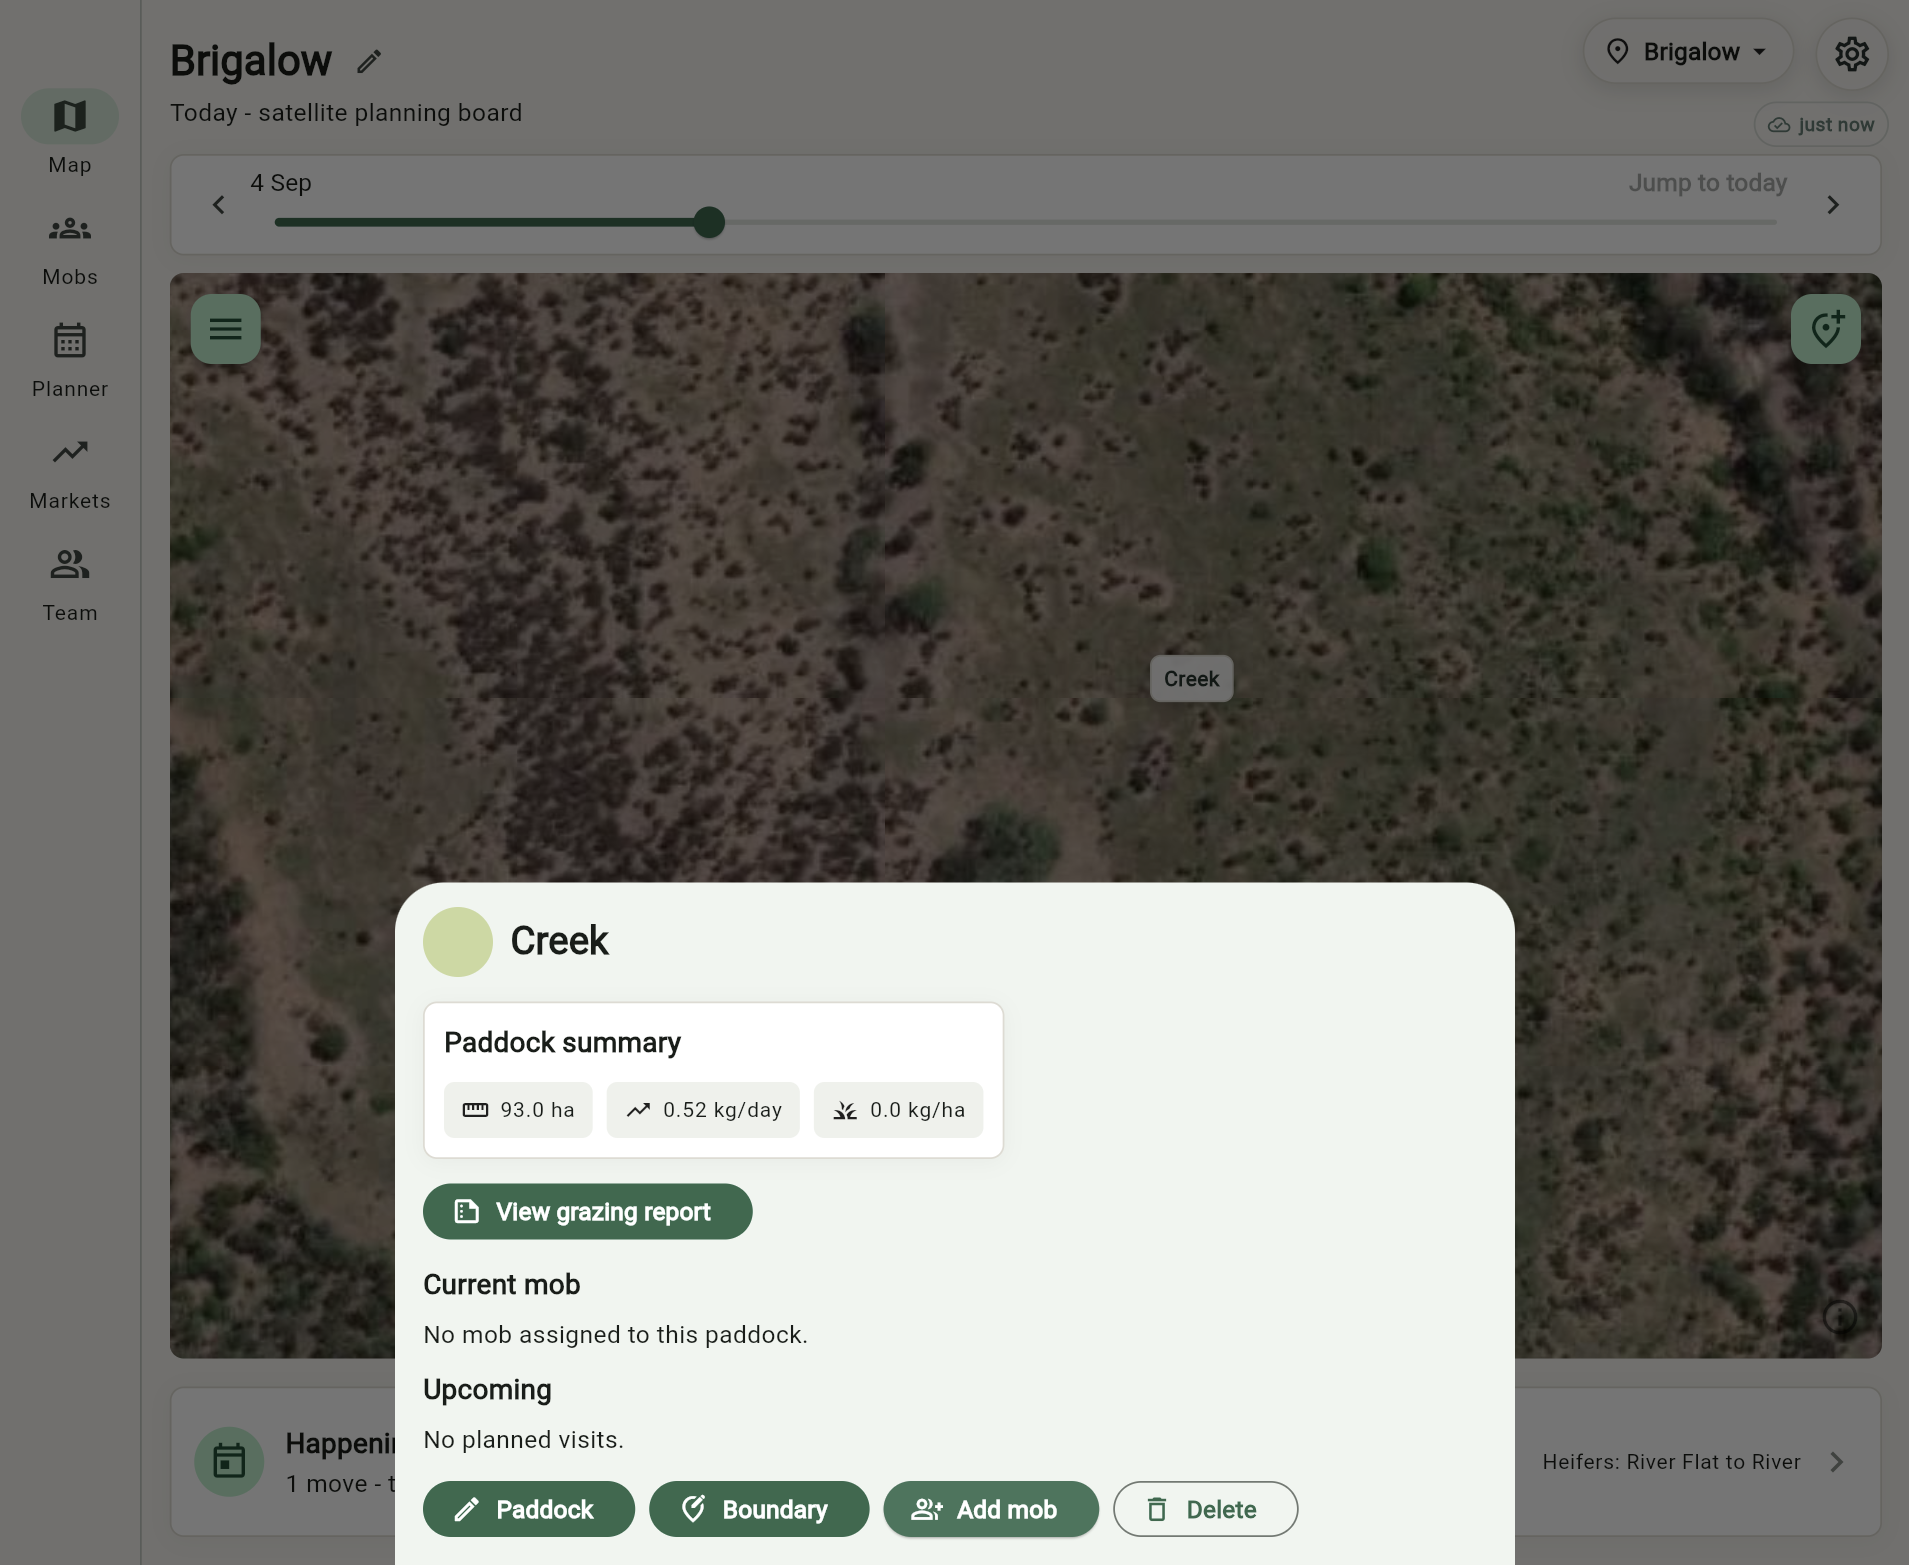
Add a mob name, class, head count, average weight and paddock. Leave the gain override blank if you want the mob to use the paddock gain.
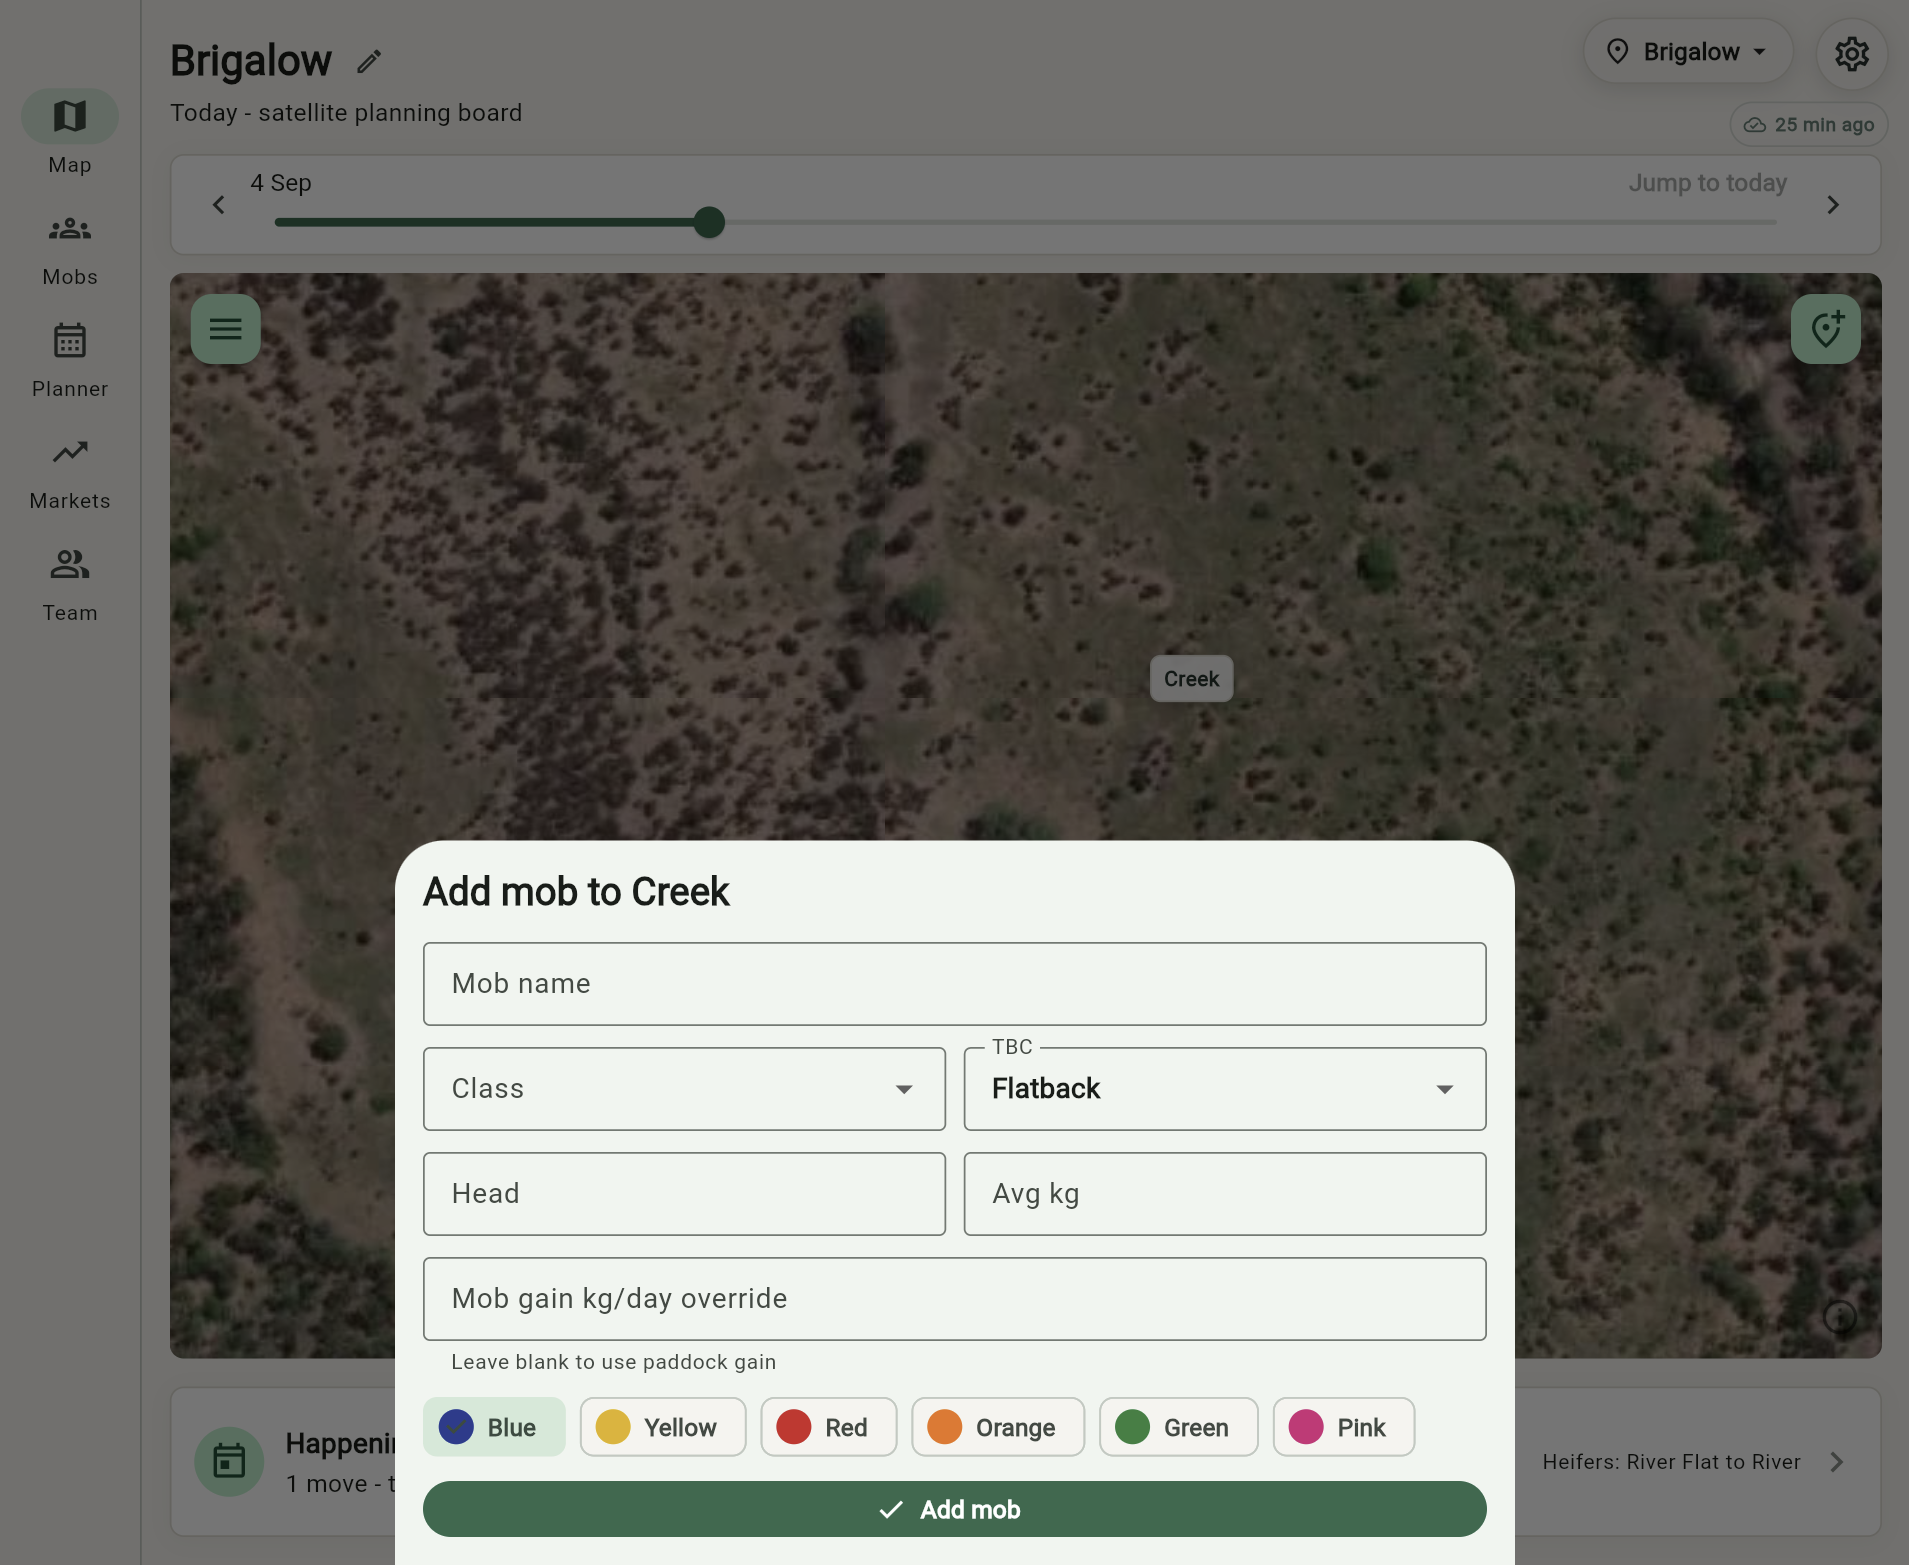
Once the mob is saved, the marker shows the mob head count inside the paddock. Now Grazer has a real starting point.
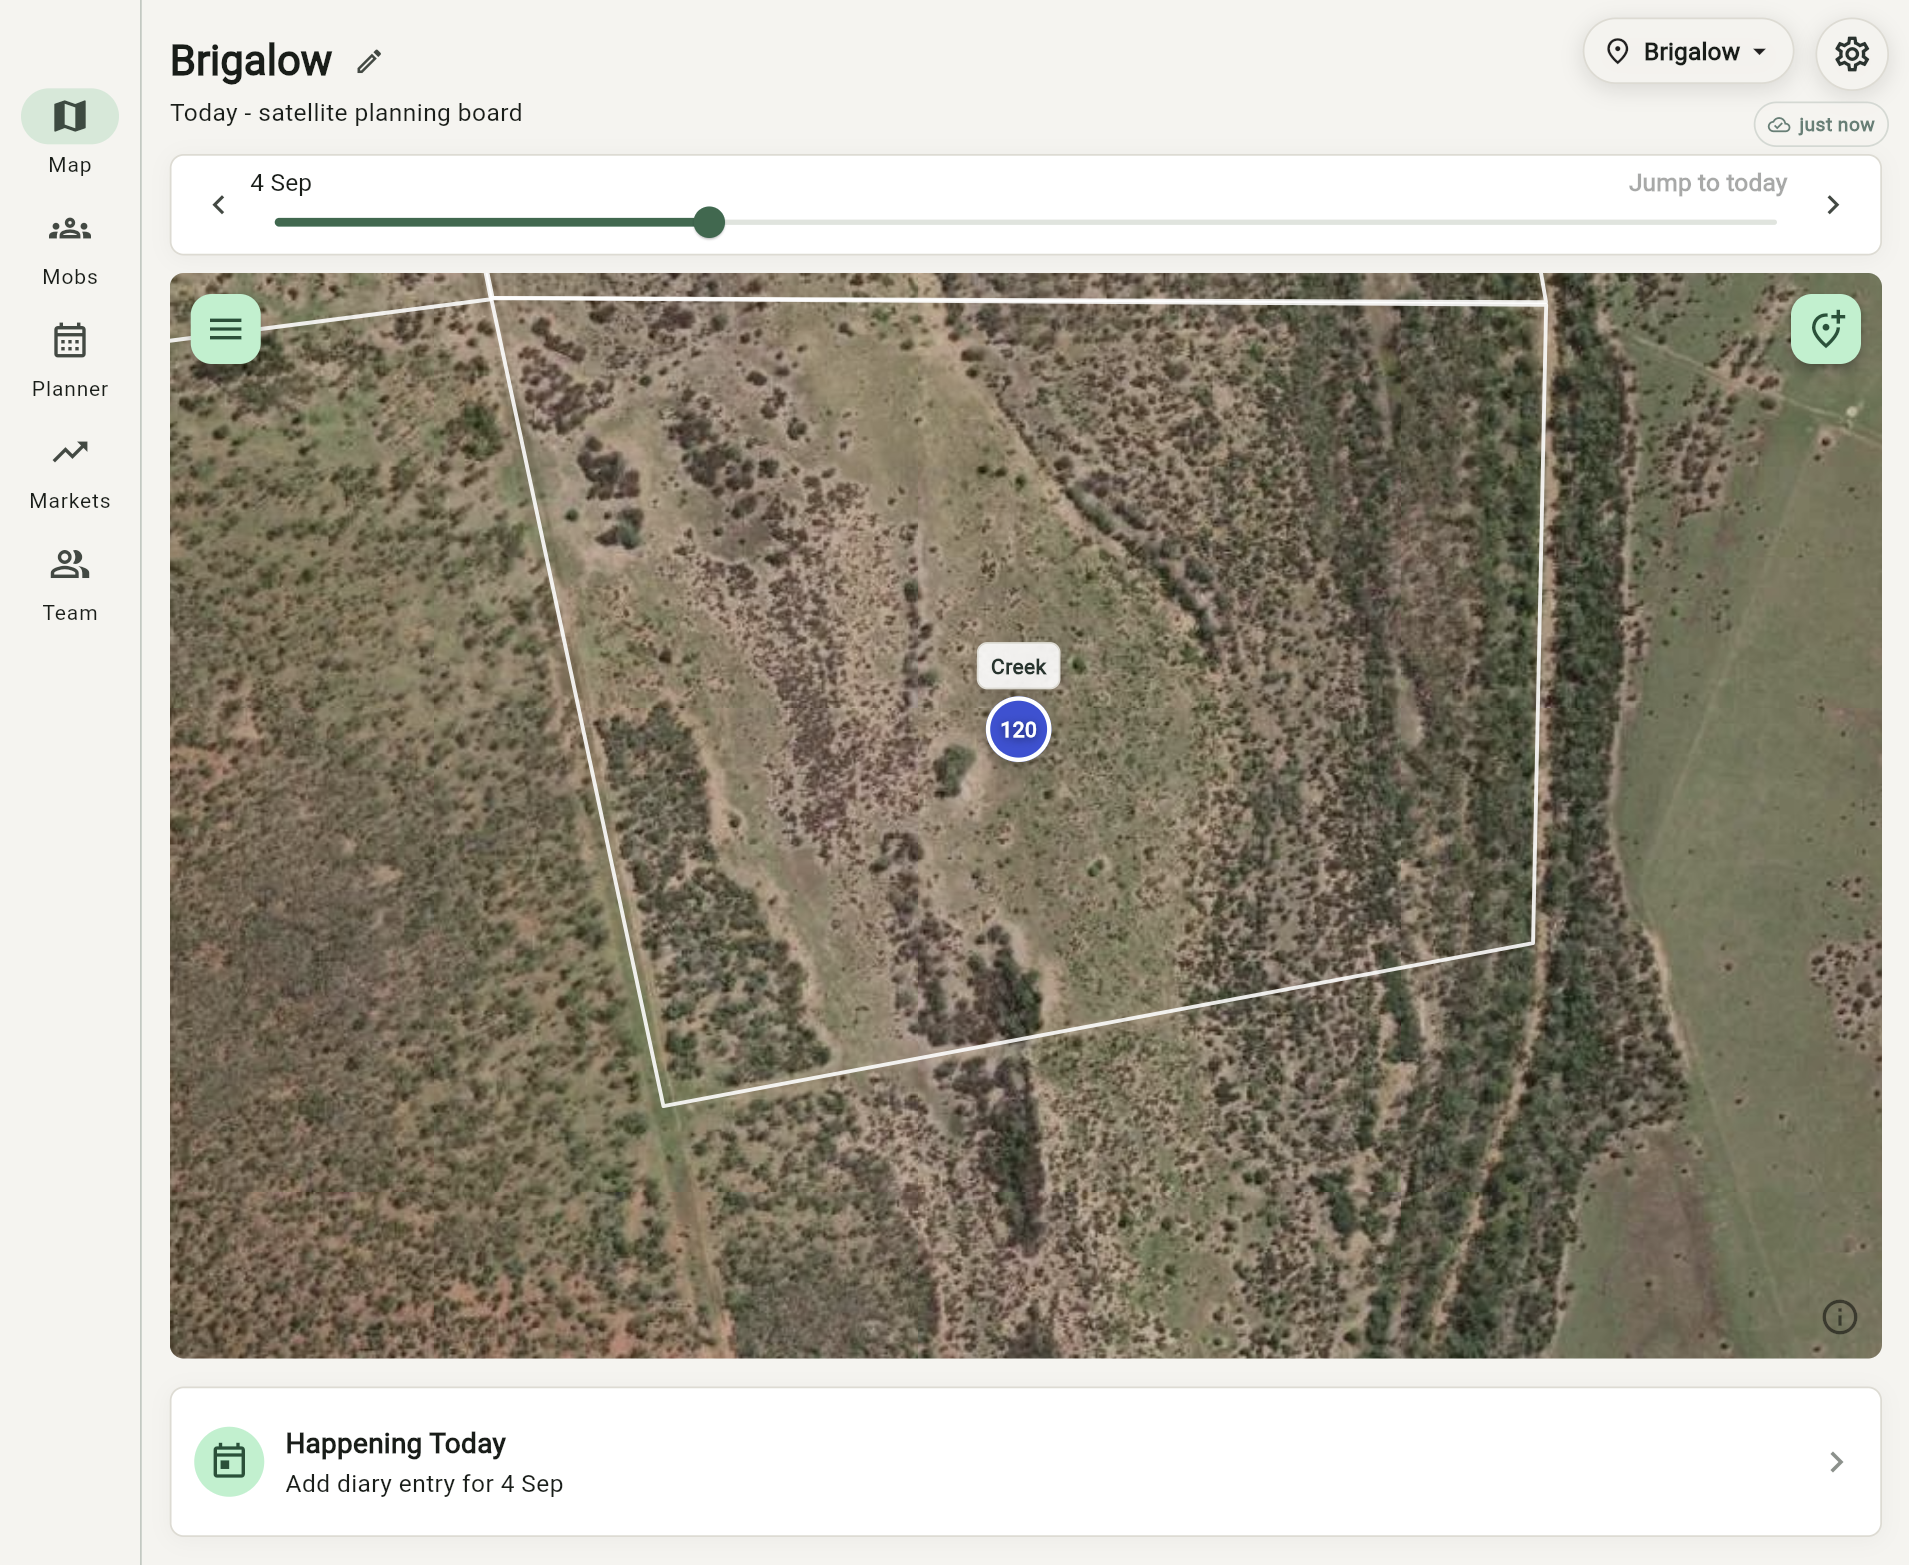
Open Planner, go to Moves, then press and hold the mob bar to add the next move. Adjust the move length to suit your plan.
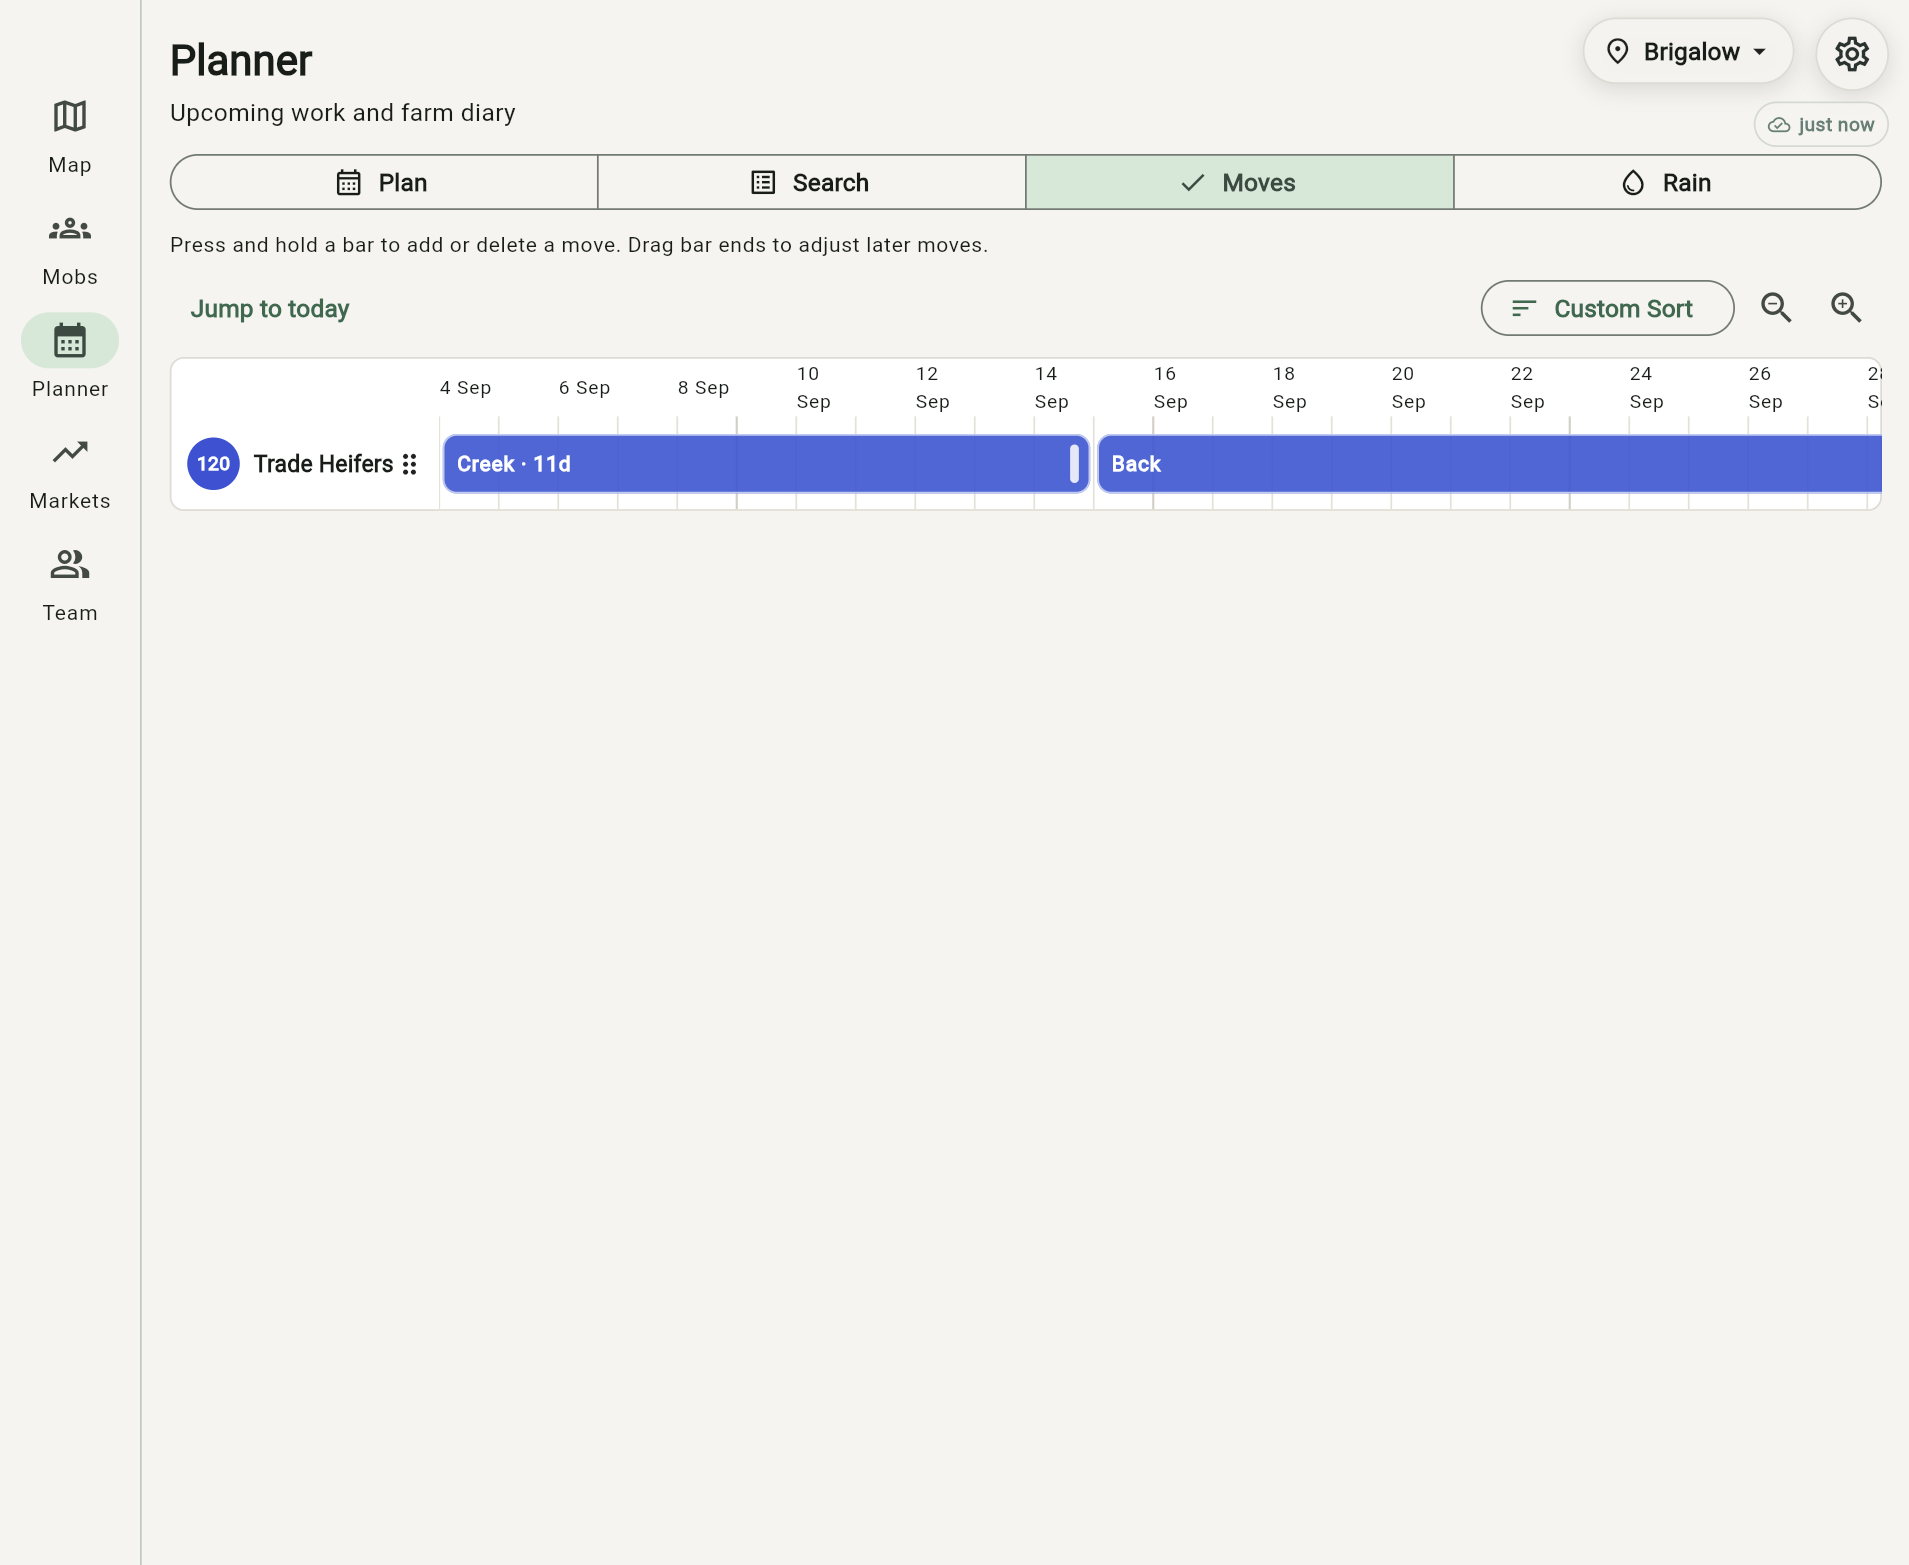
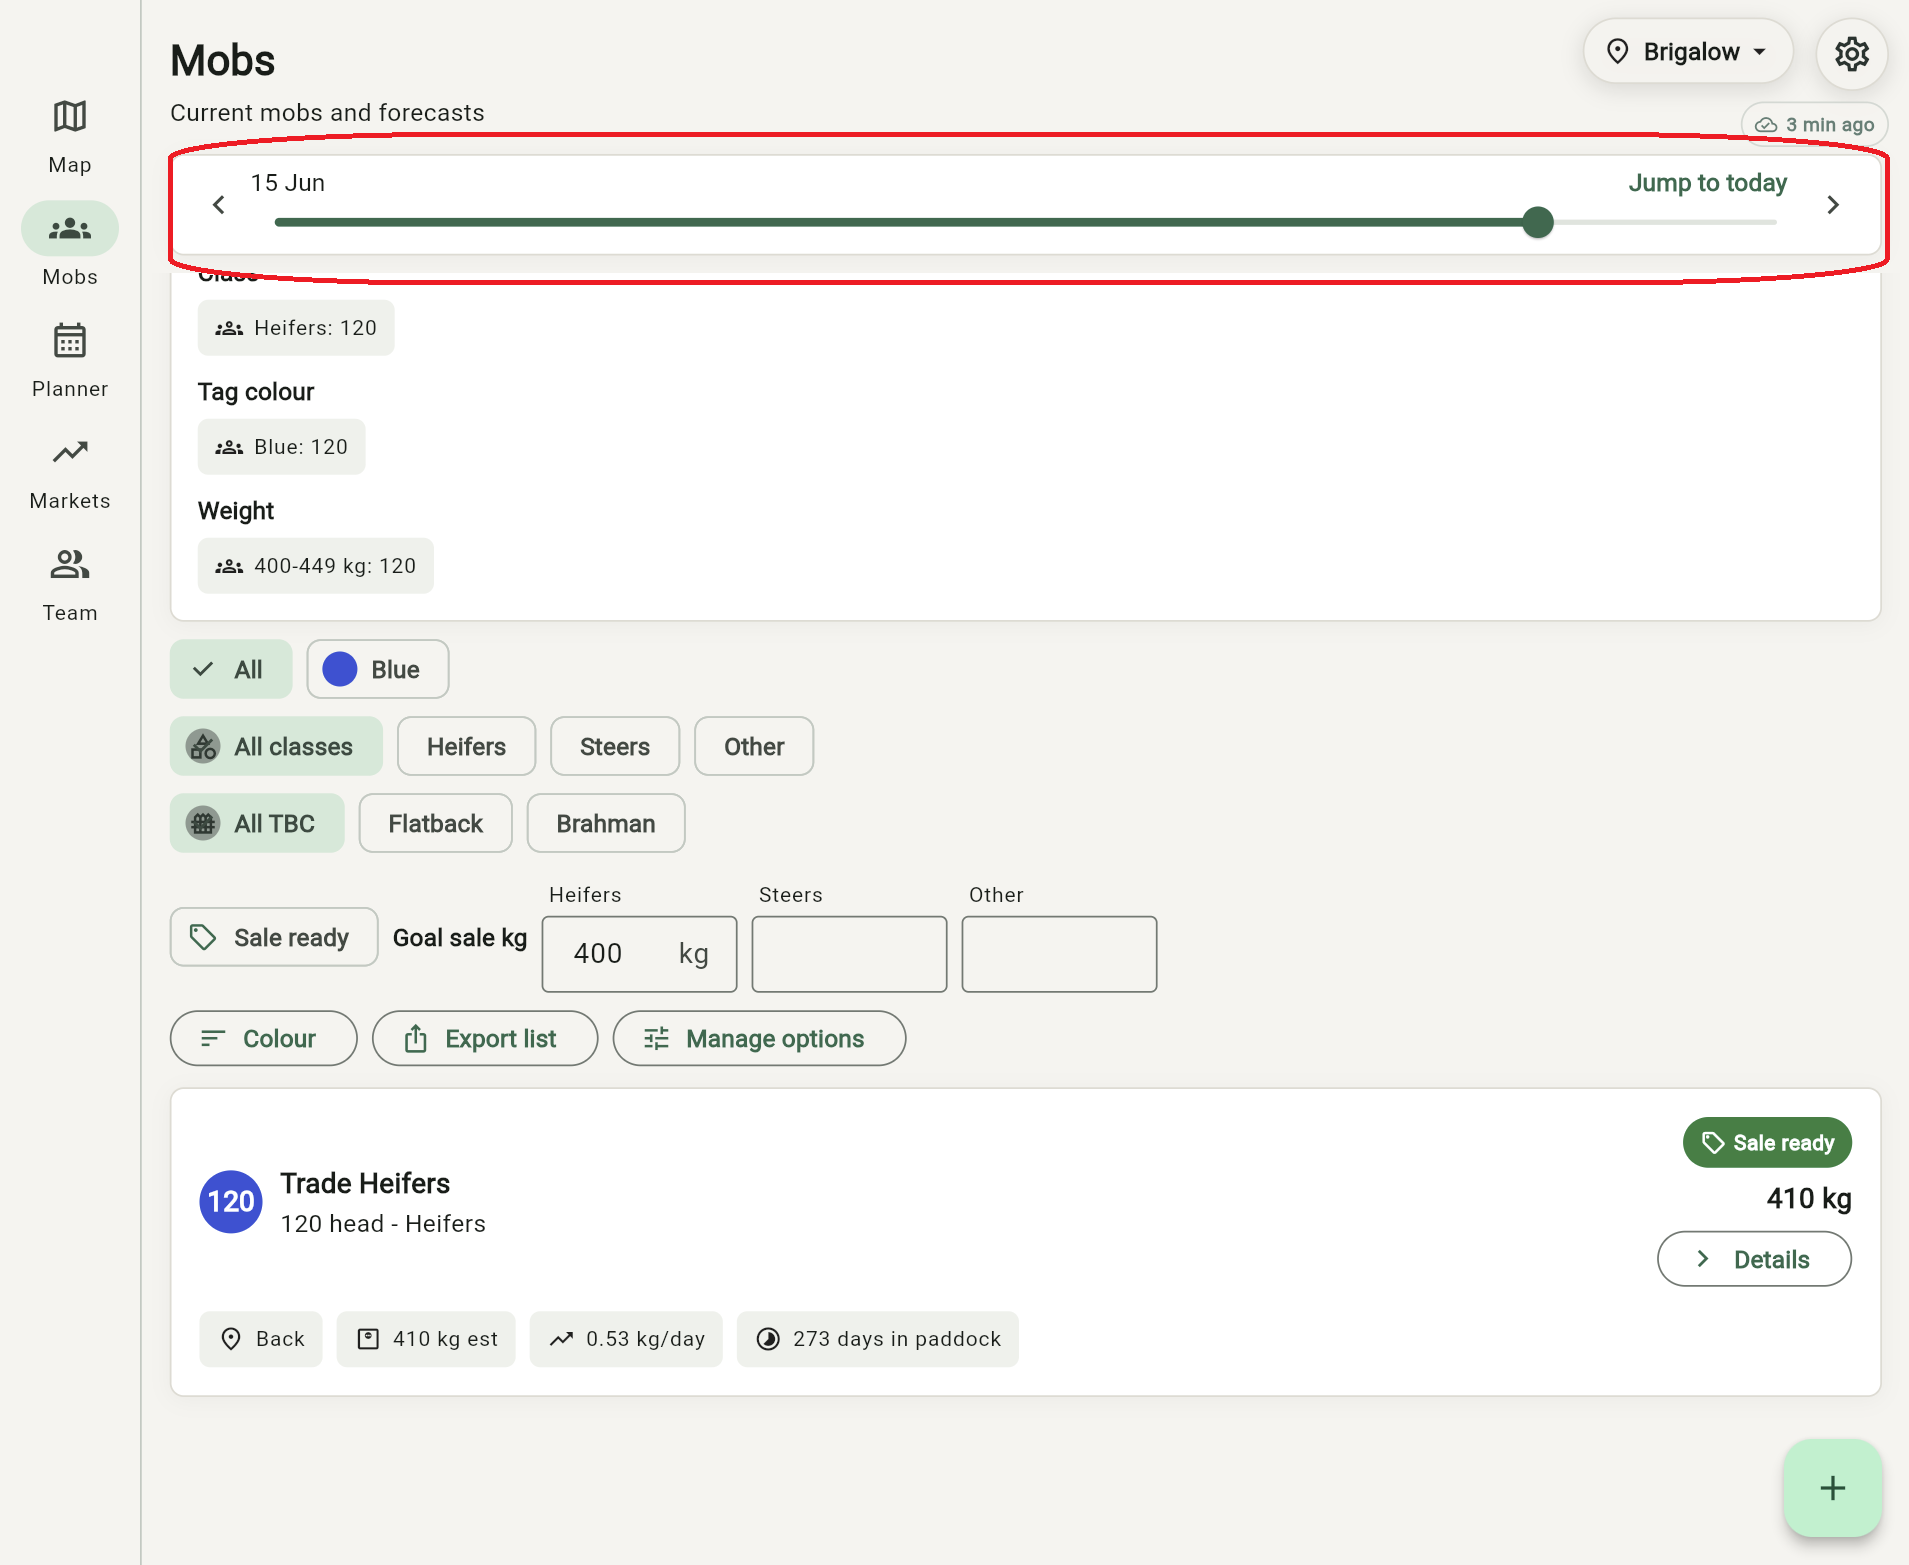
Use the date slider to look ahead. The mob location and weight forecast update as the plan moves through time.
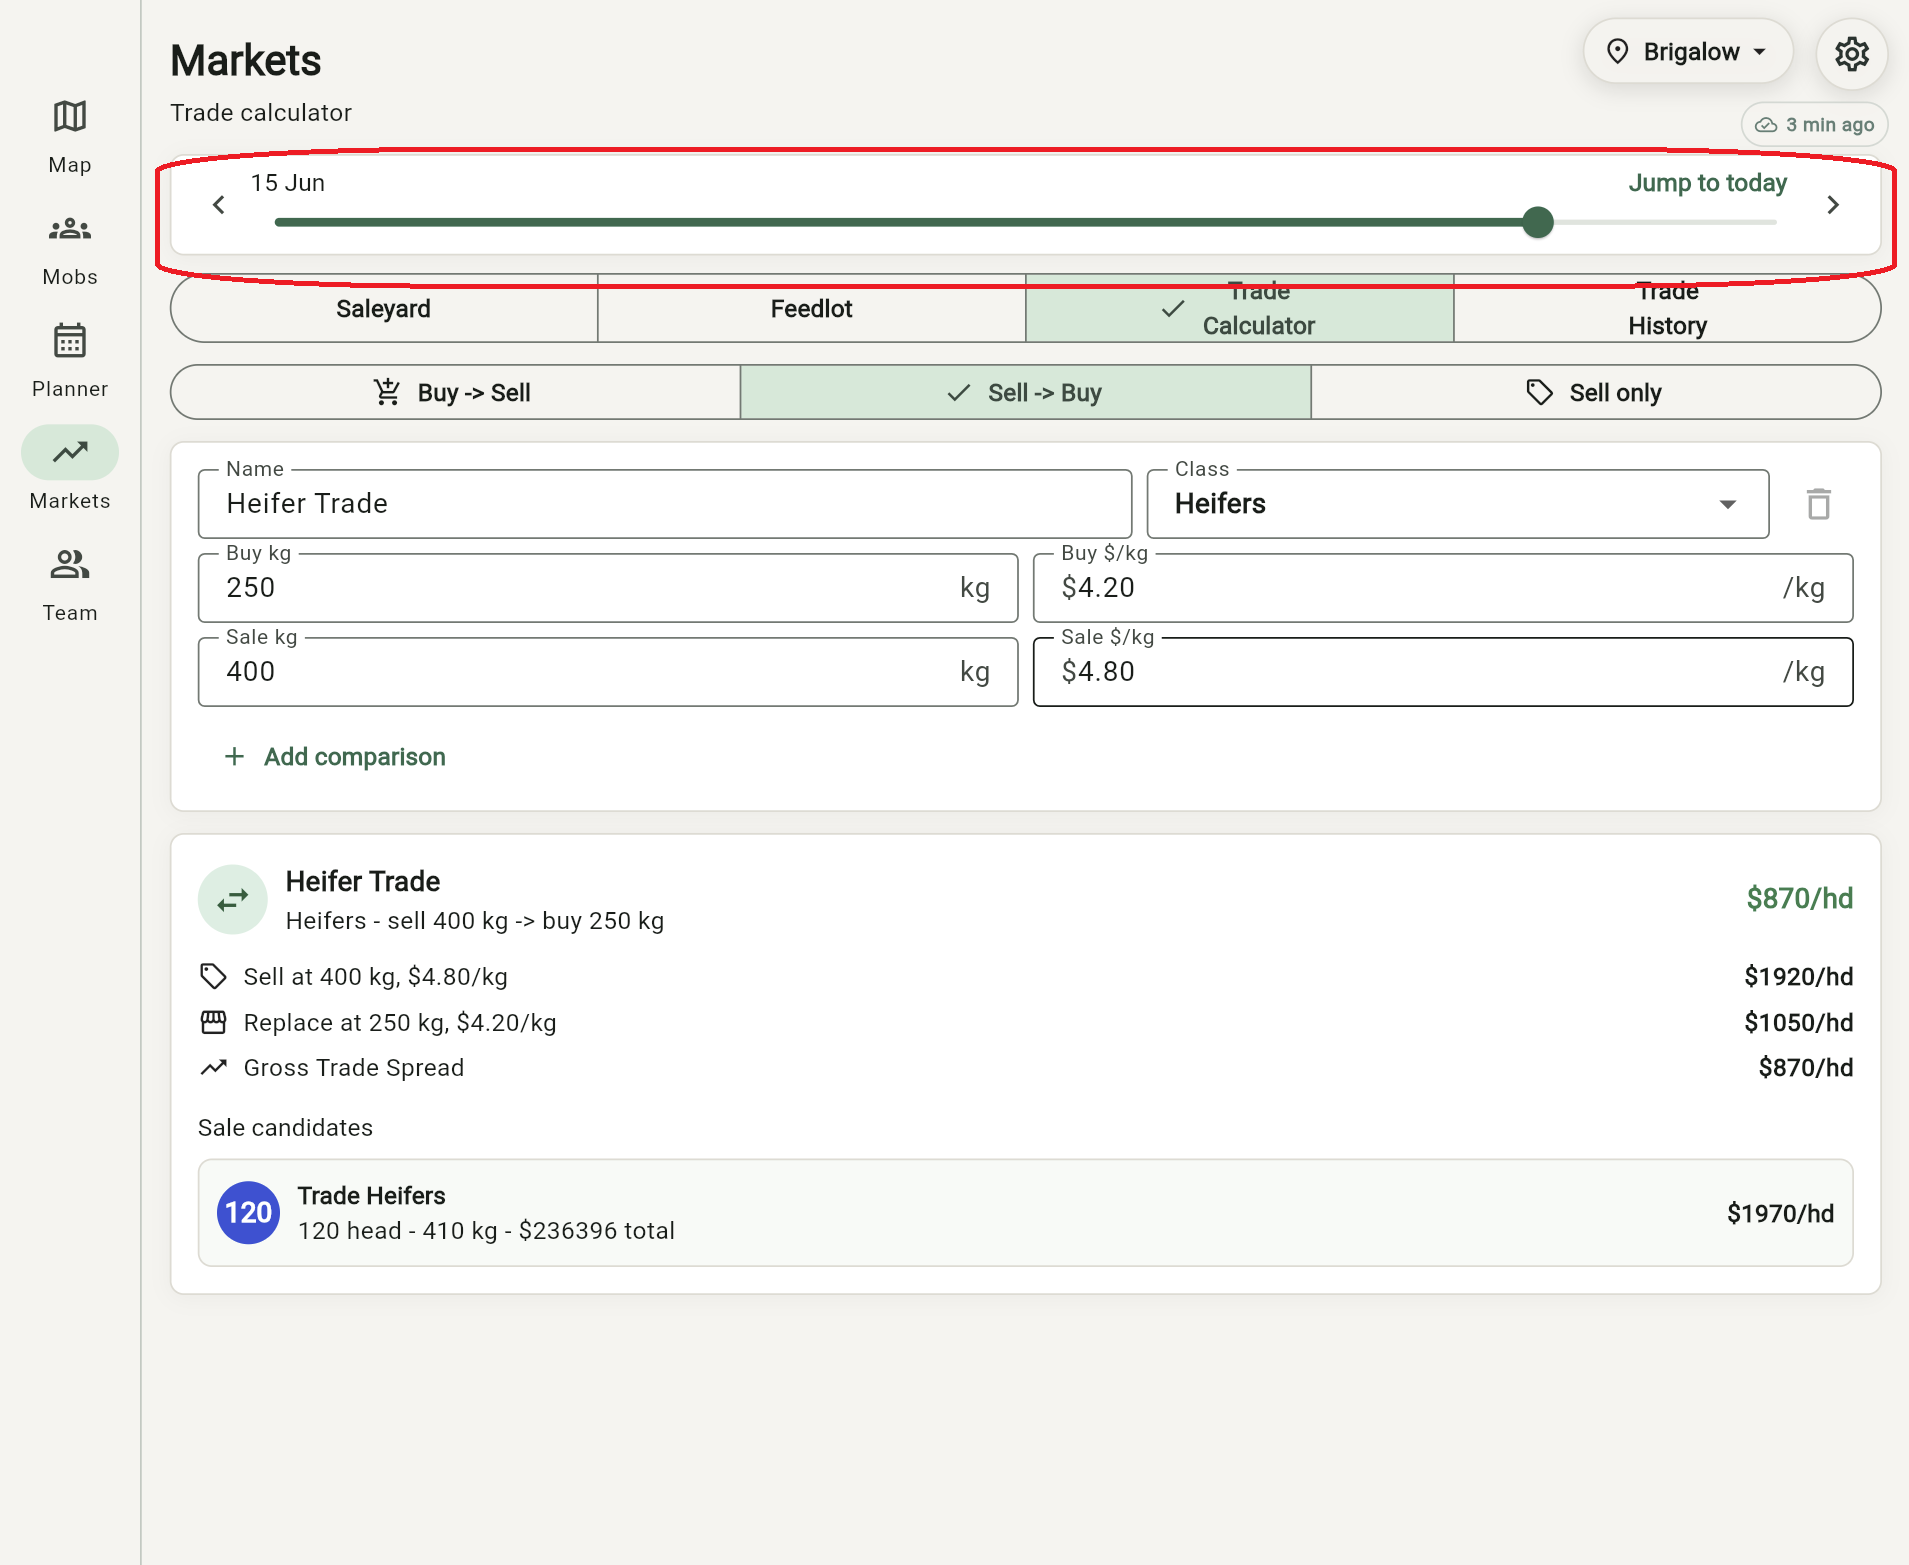
Open Markets, use the Trade Calculator, and compare a sale weight and price against a replacement option. The calculator will show matching sale candidates when mobs reach the target weight.
What to look for
After those first steps, you should be able to answer useful questions without going back to a notebook or spreadsheet.
See the mob on the property map with the paddocks around it.
Use planned moves to see the next paddock and the dates around it.
Move the calendar forward and check projected mob weights.
Compare sale value and replacement options on the same basis.
Need a hand?
If something does not make sense, or Grazer should handle your operation differently, email Adam directly.